Model M keyboard restoration project
On Monday, I stopped at Twin City Surplus to look around, simply because I was in the neighborhood. I’m not going to Burning Man this year, so nothing really stood out. I went out into the back yard, which contains scrap metal, ammo cans, netting, etc. In a corner of the yard is covered but exposed set of shelves with some old computer and telecom equipment. Now, I’m a computer and telecom geek, but in all the times I’ve been to Twin City Surplus, there’s never been anything worth buying, and most of it just sits there year after year. I’m talking half-broken 1950s key telephone systems, CRT monitors, etc.
But this time, I noticed something. A pile of keyboards, maybe 15 or so. Most were junk, but out of them, I found 3 IBM Model M keyboards, completely caked in dust. I walked out with all 3 for $9 (and a pair of completely black and itchy hands). I then set about restoring them back to their original glory.
As of today, all three are in “usable” states, but I still have a lot of work to do. I’ve got an order in with Clicky Keyboards for two replacement keycaps and a nut driver required to open the chassis of them to clean better.
Below is a repost of the photos I’ve posted to Flickr this week. The full set is available here.
Find of the year
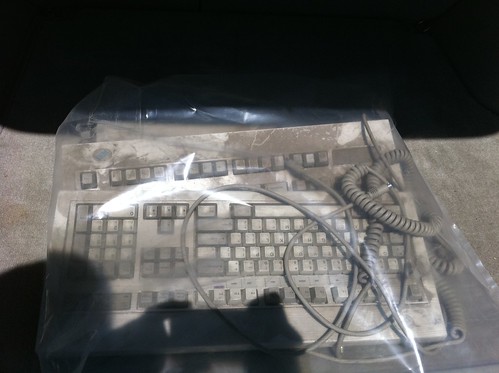
3 Model M 1391401 keyboards, found in the outside yard at Twin Cities Surplus in Reno, NV. I picked them up for $3 each. 2 are white logo (1988 and 1989), one is a 1993 blue logo. All have detachable PS2 cables, one is a 10-foot, two are 5-foots. I was able to find all but two of the keycaps. Conditions look good, but they’re covered in a ton of dust, so we’ll see once I get them cleaned up.
Score!
Making progress
EVERYTHING was covered in a horrible dark dust that makes the skin itchy. (Asbestos? Fiberglass?) I gave everything a good brushing outside, brought them in, and began work on the 1993 blue logo model.
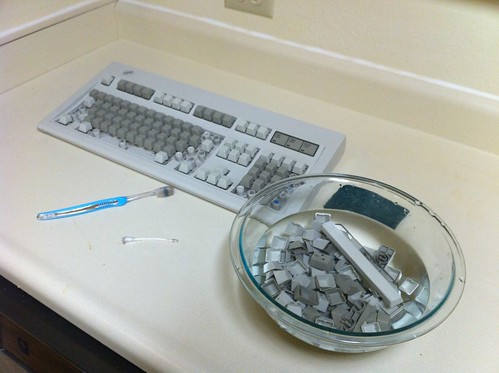
I took the keycaps off and washed them in a medium mixing bowl with soap and hot water, then left them to soak for awhile. The chassis got a scrubbing with soapy water, and canned air to the insides. The cables were left in a large mixing bowl with soap and hot water, with everything submerged but the ends (I checked for cuts first). I rinsed the soap out of the keycaps, then laid them out on a towel to try. Once everything was dry, I re-assembled.
The biggest sticking point (pun intended) was the larger keys, which do not use 2-piece keycaps. They would get stuck at the bottom when pressed. I thought about lubricants, but eventually settled on pounding the hell out of them, which mostly worked. Currently the only large key that sticks most of the time is the numeric +. All of the regular keys work fine.
I plugged it into a computer and tested each key. Success! All of the cords work too.
This one is usable, but is still far from clean. I may need to go over each one again and completely disassemble the chassis to actually get them clean.
Oh, and it turns out I’m missing two caps, numeric 4, and `. Maybe this weekend I’ll go back to the yard and take a second look, then look online for replacements.
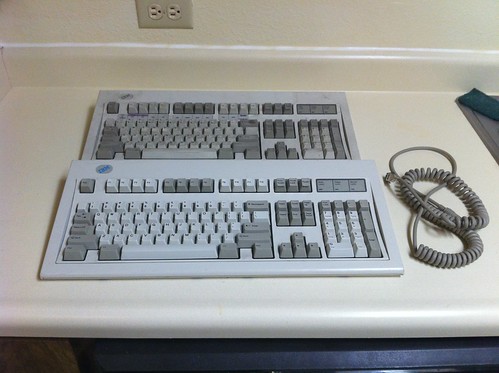
Before and after
Below is the half-restored 1993 blue logo. Above is the 1989 white logo that has only been dusted off.
In progress (1989 white logo)
This is one of the two remaining white logo keyboards, and the one with the best typing feel in my opinion. Unfortunately, it’s also the dirtiest. The blue logo keyboard was in remarkably good shape after I gave the keycaps and chassis a good scrubbing; there was very little grime in the well. This one has a lot of grime, and I’ll need a tool to disassemble the chassis, and a bottle brush to clean the well.
Here the keycaps have been washed and are soaking in clean water to remove soap residue before drying.
Keycaps drying (1989 white logo)
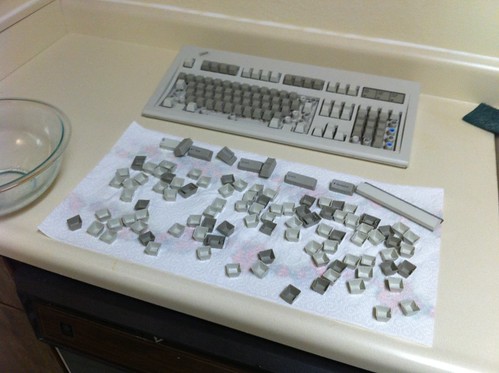
The keycaps must dry completely before they can be put back onto the keyboard.
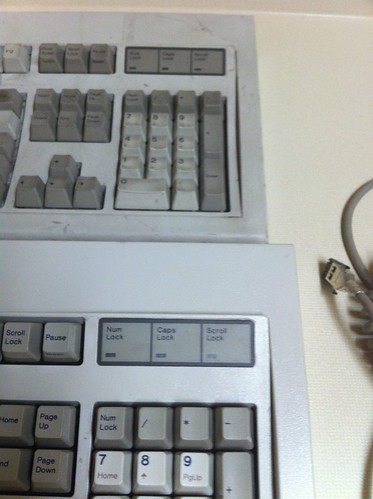
Lotus 1-2-3 reference table (1988 white logo)
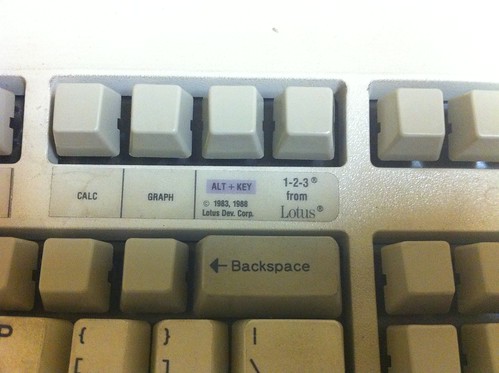
Both of the white logo keyboards had Lotus 1-2-3 reference table stickers for the function keys. Sadly, they had to be removed to clean the keyboards.
Unicomp 2-piece keycap
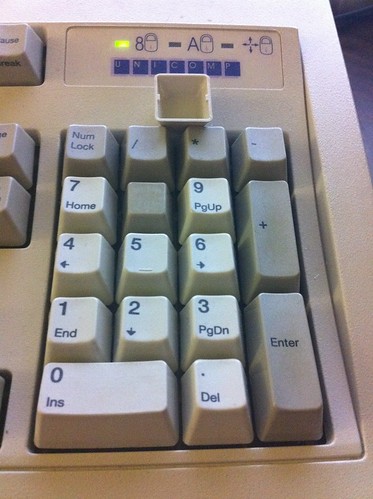
While restoring my Model Ms, I decided to take a better look at my 2005 Unicomp Customizer 104. I had always assumed that Unicomp, having bought the design from Lexmark, used the one-piece stem+cap design. Nope, it’s a classic 2-piece. However, the cap clings to the stem pretty tightly, and can’t be removed by hand. Trying to pry one off with a knife will likely take both the cap and the stem out (doesn’t damage it, of course). Both the caps and the stems are interchangeable with the 1391401 Model Ms.
(The discoloration and distortion are the result of my cameraphone in a low light environment. The color and the build quailty of the Unicomps are the same as the original Model Ms. I’ve had my Unicomp for 5 years now, with no signs of discoloration.)
Four Model Ms, 17 years
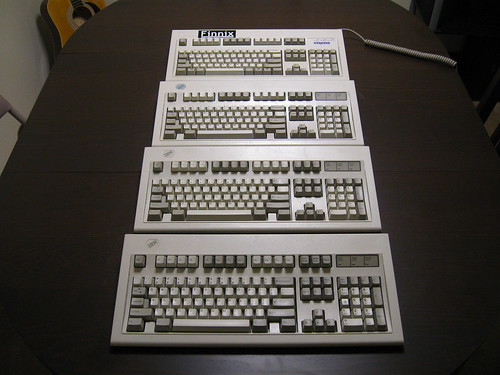
From front to back: